Data Flow Manager Installation Guide
Use this installation guide to install Data Flow Manager.
1. Prerequisites
To use Data Flow Manager, you need the following:
- Running NiFi instances linked with a registry
- EC2/virtual machine
- SMTP server
- LDAP
2. Installing Data Flow Manager
Follow step-by-step instructions to install and configure Data Flow Manager v2.1.4.
Step 1: Install and set up PostgreSQL (Install PostgreSQL)
- Create a database for Data Flow Manager.
- Create a User for the database (keep the username and password).
- Grant read/write access.
Step 2: Install Node.js (if not already installed)
Download and install Node.js v20.12.0 from Node.js Official Site.
Step 3: Install PM2
Install PM2 with the following command on your terminal.
Step 4: Extract and Set Up Data Flow Manager
- Extract the zip file (dfm.zip).
- Go to the dfm folder.
- Create the `.env` file.
- Add the required environment variables.
Required Values for ENV in the server folder:
Update these values as per your environment
                                    NODE_ENV= development/staging/production

                                    PORT=8000


                                    # DB creadentials

                                    DB_USER = XXXXXXX

                                    DB_PASSWORD = XXXXXXX

                                    DB_NAME = XXXXXXX

                                    DB_PORT = XXXXXXX

                                    DB_HOST = XXXXXXX

                                    DB_CLIENT = XXXXXXX


                                    # SECRET KEY for token

                                    JWT_SECRET = XXXXXXX //mysecret

                                    JWT_TOKEN_EXPIRATION = 'XXXXXXXXX' // '1m' / '1h' / '24h'


                                    # SMTP SERVICES for email

                                    SMTP_SERVICE = XXXXXXX

                                    SMTP_HOST = XXXXXXX

                                    SMTP_PORT = XXXXXXX

                                    SMTP_SECURE = true

                                    SMTP_USER = XXXXXXX

                                    SMTP_PASS = XXXXXXX


                                    # Client app URL for redirecting links to client

                                    REACT_APP_URL = XXXXXXX


                                    DEFAULT_FROM_EMAIL = XXXXXXX

                                    PAGE_SIZE_FOR_LDAP = 1000
Required Values for ENV in the client folder:
REACT_APP_API_URL=localhost:8000 // url used for backend
- Place the license.txt file inside the server folder: <dir>/dfm/server
Step 5: Install Dependencies and Set Up the Database
Run the following commands:
- npm install
- npm run db:push
- npm run db:seed
Step 6: Start the Application
Run the application using PM2
The application should be accessible at port 8080.
3. Post Installation Steps
After successfully installing Data Flow Manager v2.1.4, follow these steps to access and configure the application.
Step 1: Access the Web Interface
- Use Remote Desktop Protocol (RDP) to access your VM.
- Launch a web browser and navigate to:
http://<VM_IP>:8080
Replace <VM_IP> with your server’s actual IP address.
Step 2: Log in as Super Admin
- On the login page, switch to the Admin Login section.
- Use the default super admin credentials:
- Username: superadmin@test.com
- Password: Superadmin@123
Step 3: Update Super Admin Profile
- Once logged in, navigate to Profile Settings.
- Update your email, password, and other details for enhanced security.
- Save the changes to personalize and secure your admin account.
Your Data Flow Manager is now fully set up and ready to use!
4. Set Up LDAP
Go to the LDAP Configuration tab and fill in the below fields:
- URL
- Login DN (Distinguished name)
- Password
- Base DN
- UserDN (Directory path for the user)
- Group DN
- User Unique Identifier (This will be used to identify a user)
- Group Unique Identifier (This will be used to identify a group)
5. Onboard Clusters to Data Flow Manager
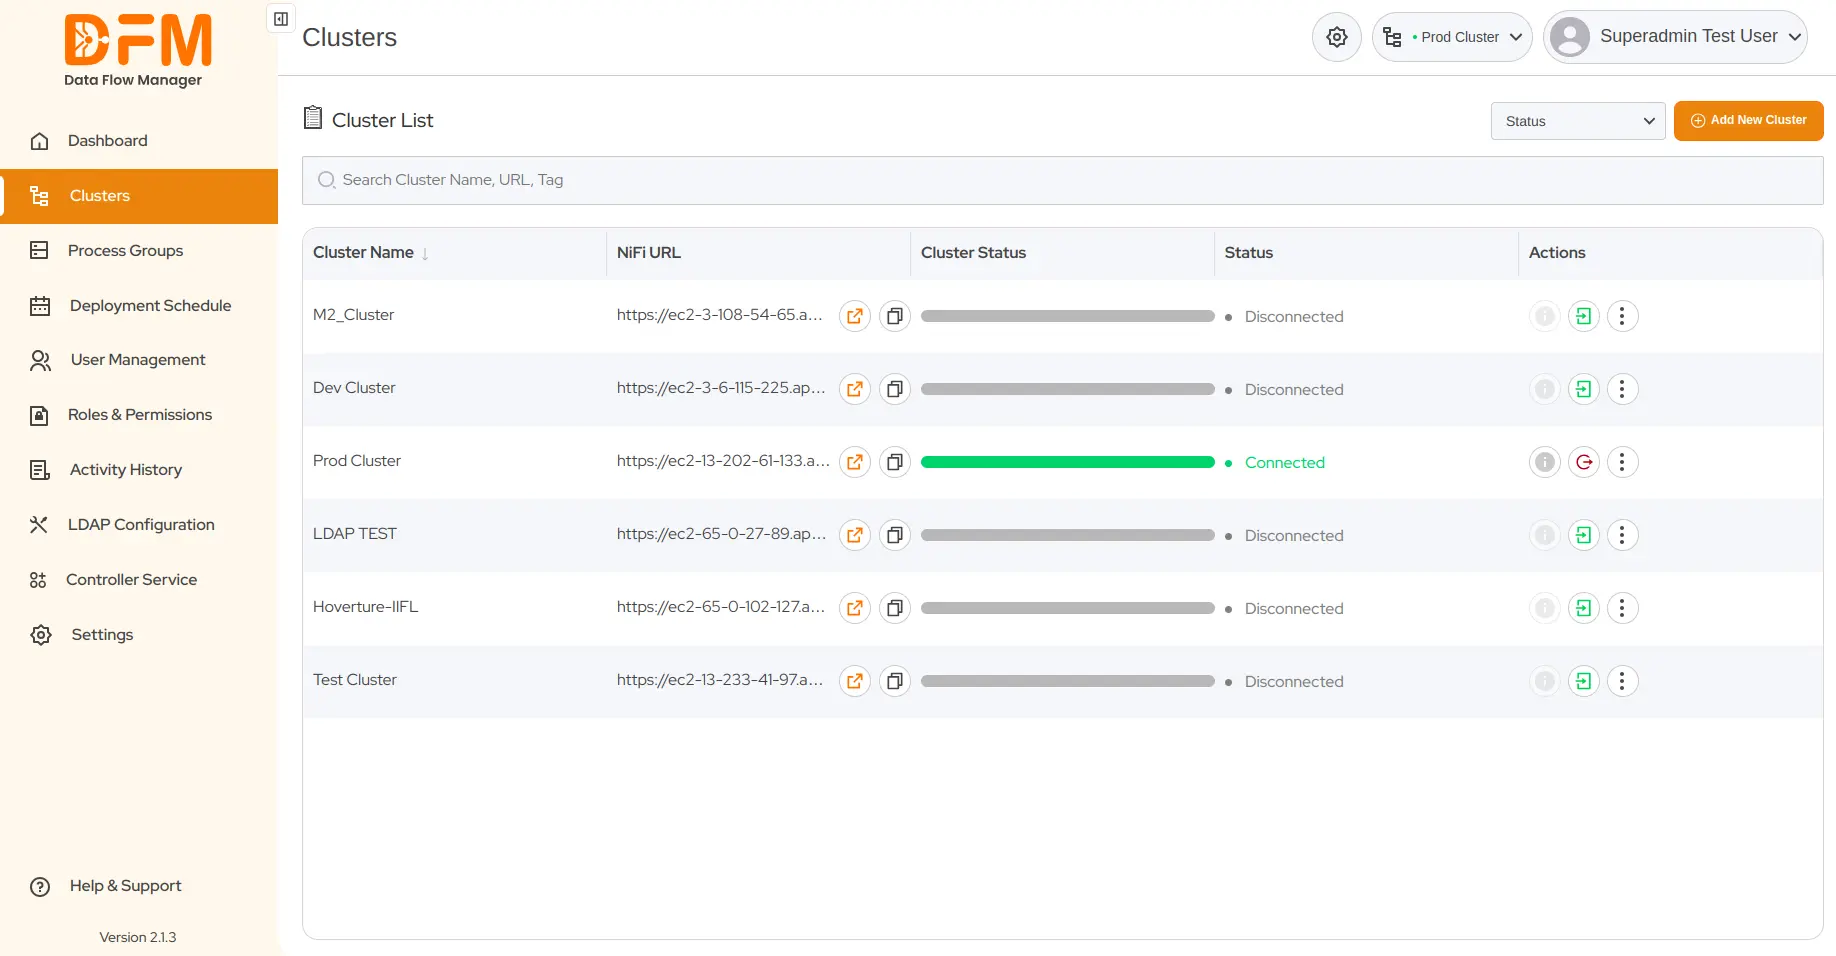
You can add as many clusters as you want from your NiFi instance to Data Flow Manager. To add a new cluster:
- Go to the Clusters tab.
- Click the button ‘Add New Cluster’ from the top-right corner.

-
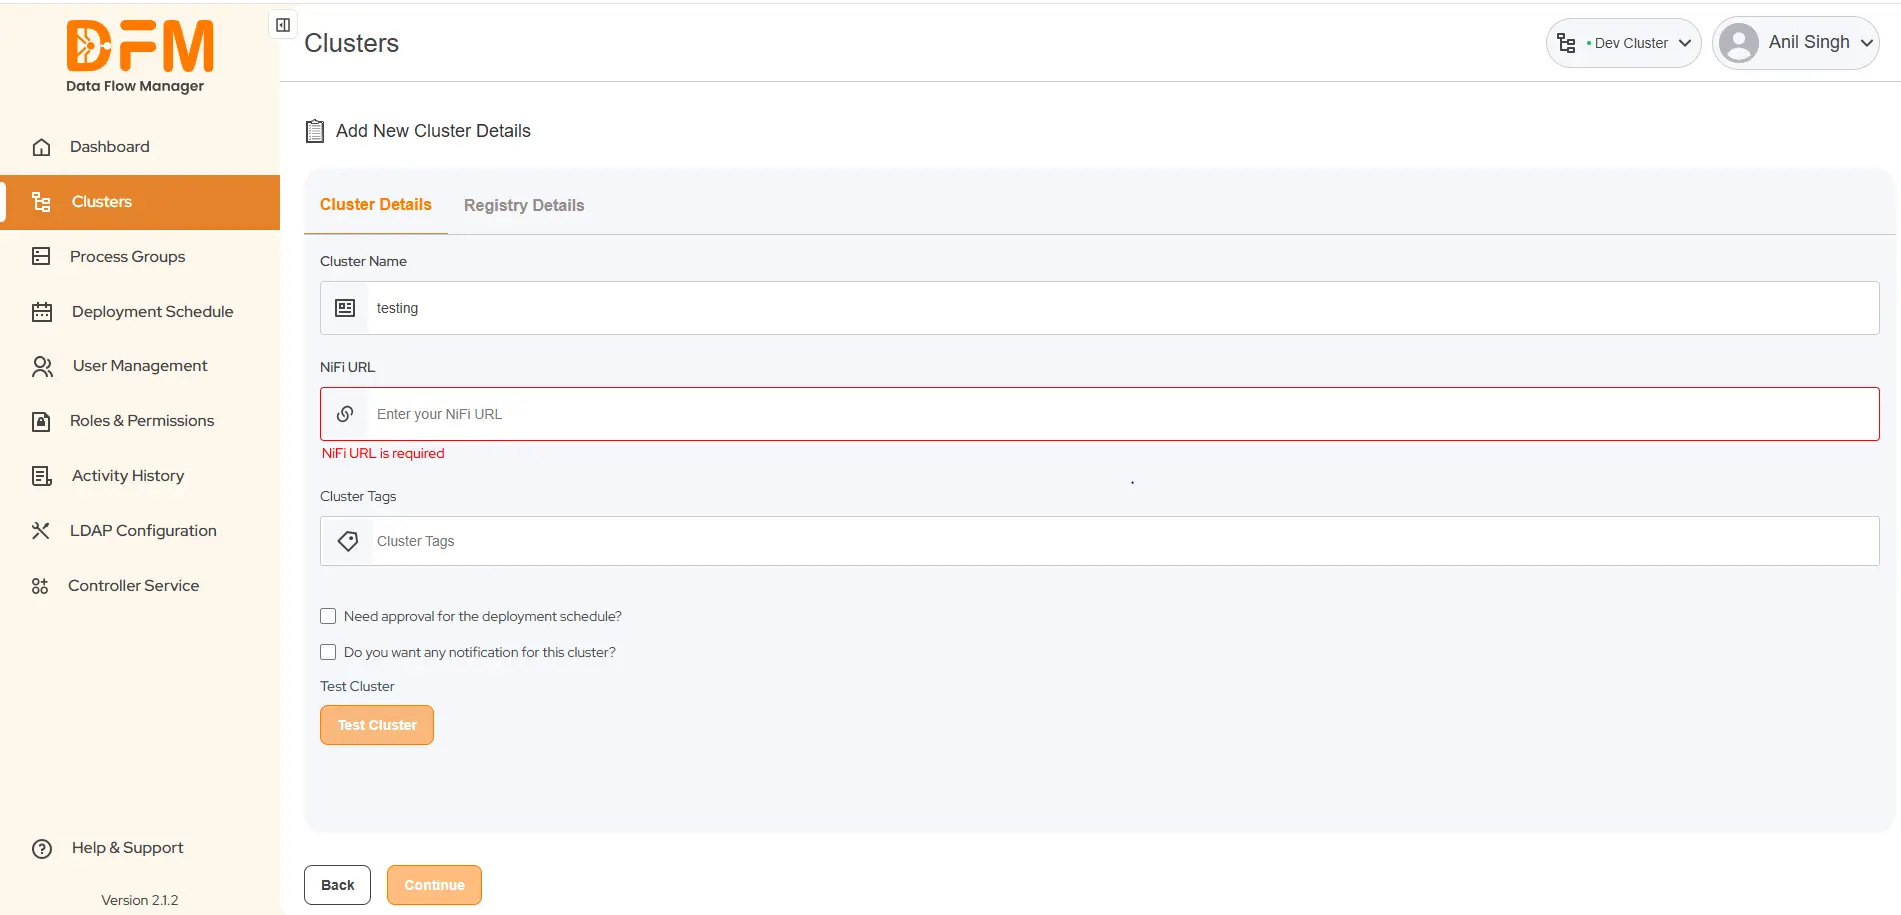
The first step is to enter the cluster details as follows:
- Cluster Name: Enter the name of the cluster in this Input field.
- NiFi URL: Enter the NiFi URL in this input field.
- Cluster Type: Add cluster tags.
- Checkbox for approval of scheduled deployment: This checkbox specifies if approval is required before the scheduled deployment is finalized. If selected, the scheduled deployment will not proceed until an authorized user approves it.
- Checkbox to receive notifications for the cluster: This checkbox allows you to opt in to receive notifications related to the cluster you are onboarding. This could include alerts, status updates, and other relevant information about the cluster's operation. Enable this checkbox to receive cluster notifications; leave it unchecked to opt-out.
- Add Certificate: You can test the cluster by adding certificates or credentials.

- After validation, your cluster is added to the system. The successful onboarding of the cluster displays a confirmation dialog or success message.
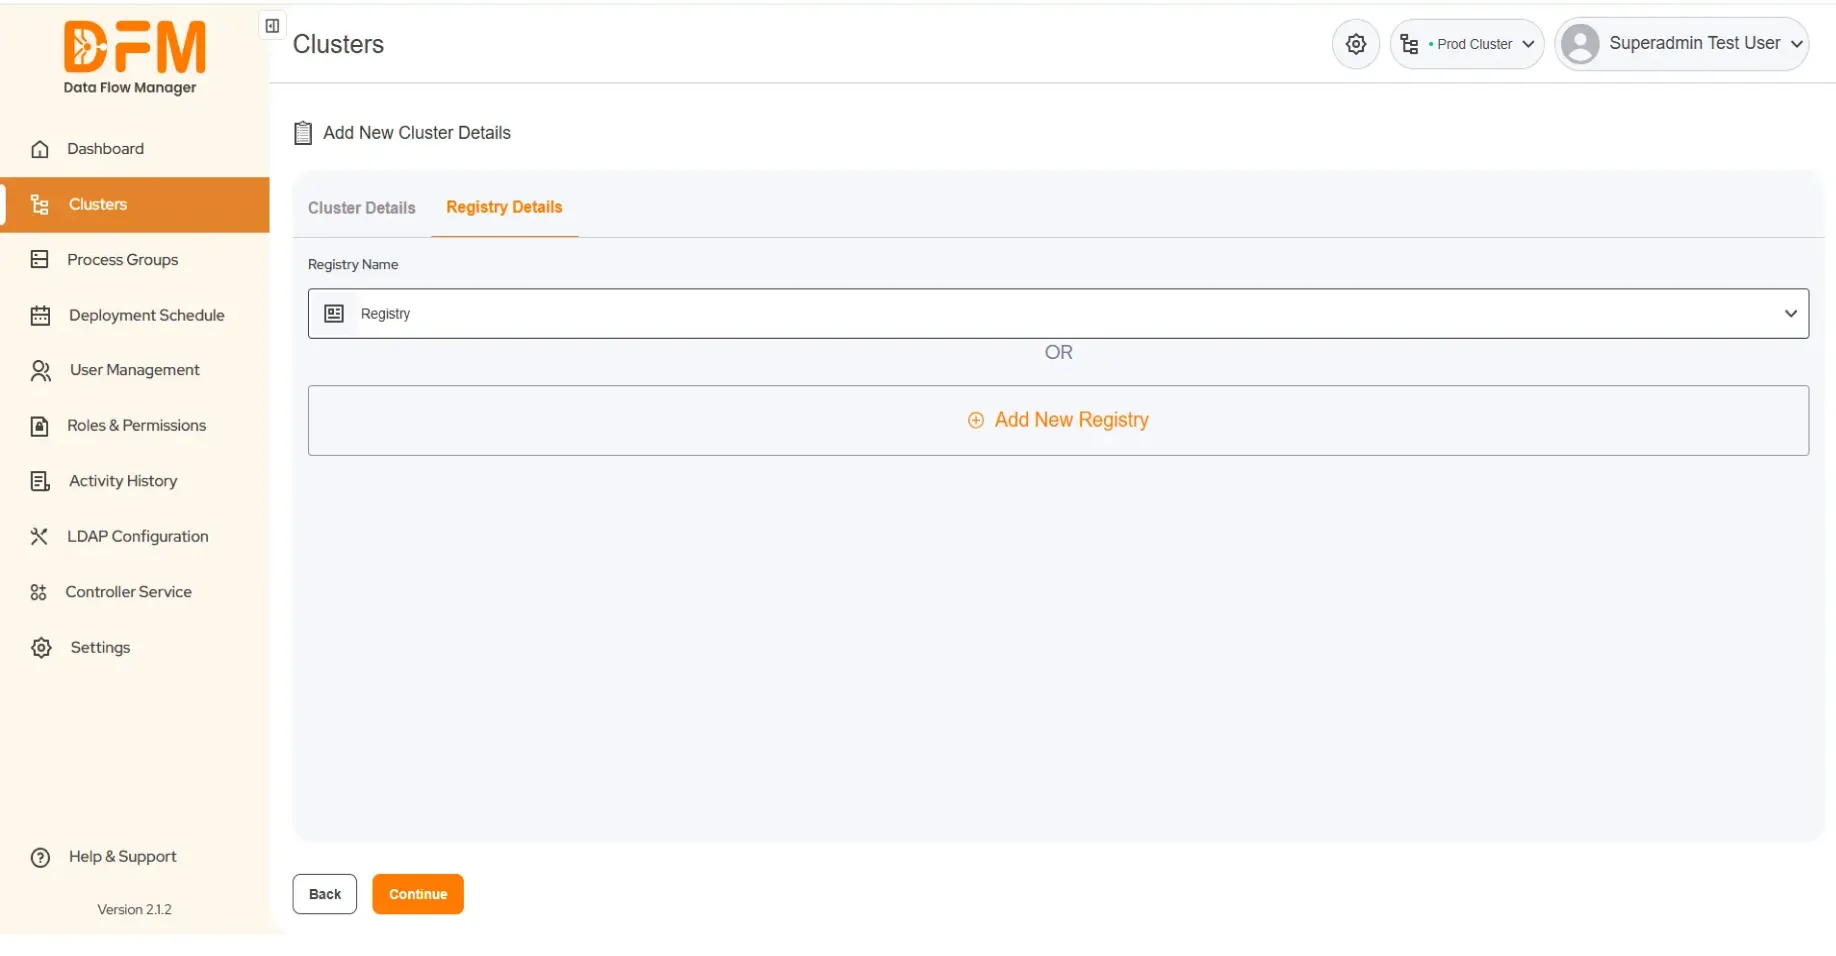
- Click on "Continue" to proceed with registry details.

- You can either select an existing registry or add a new registry. Once you’ve entered the required information, click on Save to save the cluster details.
You can easily edit the cluster and registry details even after onboarding it to Data Flow Manager.

